
From Losing Code to Learning Git and GitHub
When I first started working on coding projects, I could barely keep track of my files. My desktop was a mess, I was constantly overwriting old versions of my work, and worst of all, I kept losing important code. It was chaos. That’s when I learned about Git, a version control system, and GitHub, a platform to store and collaborate on code.
My Struggles With Git
At first, Git was incredibly confusing. I had no idea what I was doing. Words like “repository,” “commit,” and “push” seemed like alien concepts. I was dragging files around, trying to make sense of it all, but I felt more lost than ever.
One day, I decided to tackle my confusion step by step. I started by learning how to clone a repository. Here’s what I discovered:
- Go to the GitHub repository you want to clone.
- Click the green Code button and copy the URL.
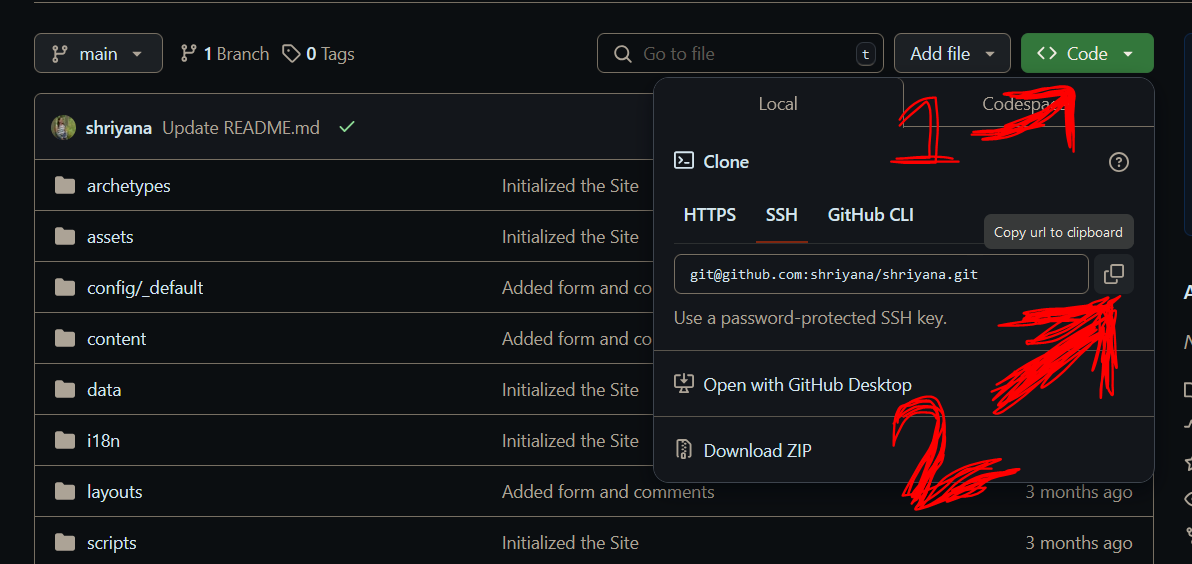
- On your local computer, navigate to the folder where you want the repository to appear.
- Right-click and open the terminal.
- Use the command:
git clone URL_you_just_copied
This simple process was a game changer. For the first time, I could pull down code from GitHub to my local machine.
Uploading Files to GitHub
Initially, I had no idea how to upload my files. My early process looked something like this:
- Initialize an empty repository on GitHub.
- Clone the empty repository to my local machine.
- Copy all my files into the cloned folder.
- Run these commands:
git init
git add .
git commit -m "added files"
git push
While this worked, it was overly complicated. Over time, I learned a more efficient workflow:
- Create a remote repository on GitHub.
- In your local project folder, run these commands:
git init
git add .
git commit -m "Added files"
git branch -m main
git remote add origin REMOTE_REPOSITORY_URL
git push -u origin main
This approach saved me so much time and effort.
Exploring Advanced Git Commands
Once I mastered the basics, I started exploring more advanced Git features:
- git log: This command shows the history of commits, helping me keep track of changes.
- git status: A lifesaver when I need to see which files have been modified or staged.
- Branches: I’ve started using branches to work on new features without affecting the main code.
- Reverting Changes: Learning how to go back in time using Git has been incredibly useful.
Final Thoughts
Learning Git and GitHub has been a journey, but it’s been worth it. I’ve gone from losing code to managing projects with confidence. If you’re struggling with Git, don’t give up. Take it one step at a time, and soon you’ll be a version control pro!